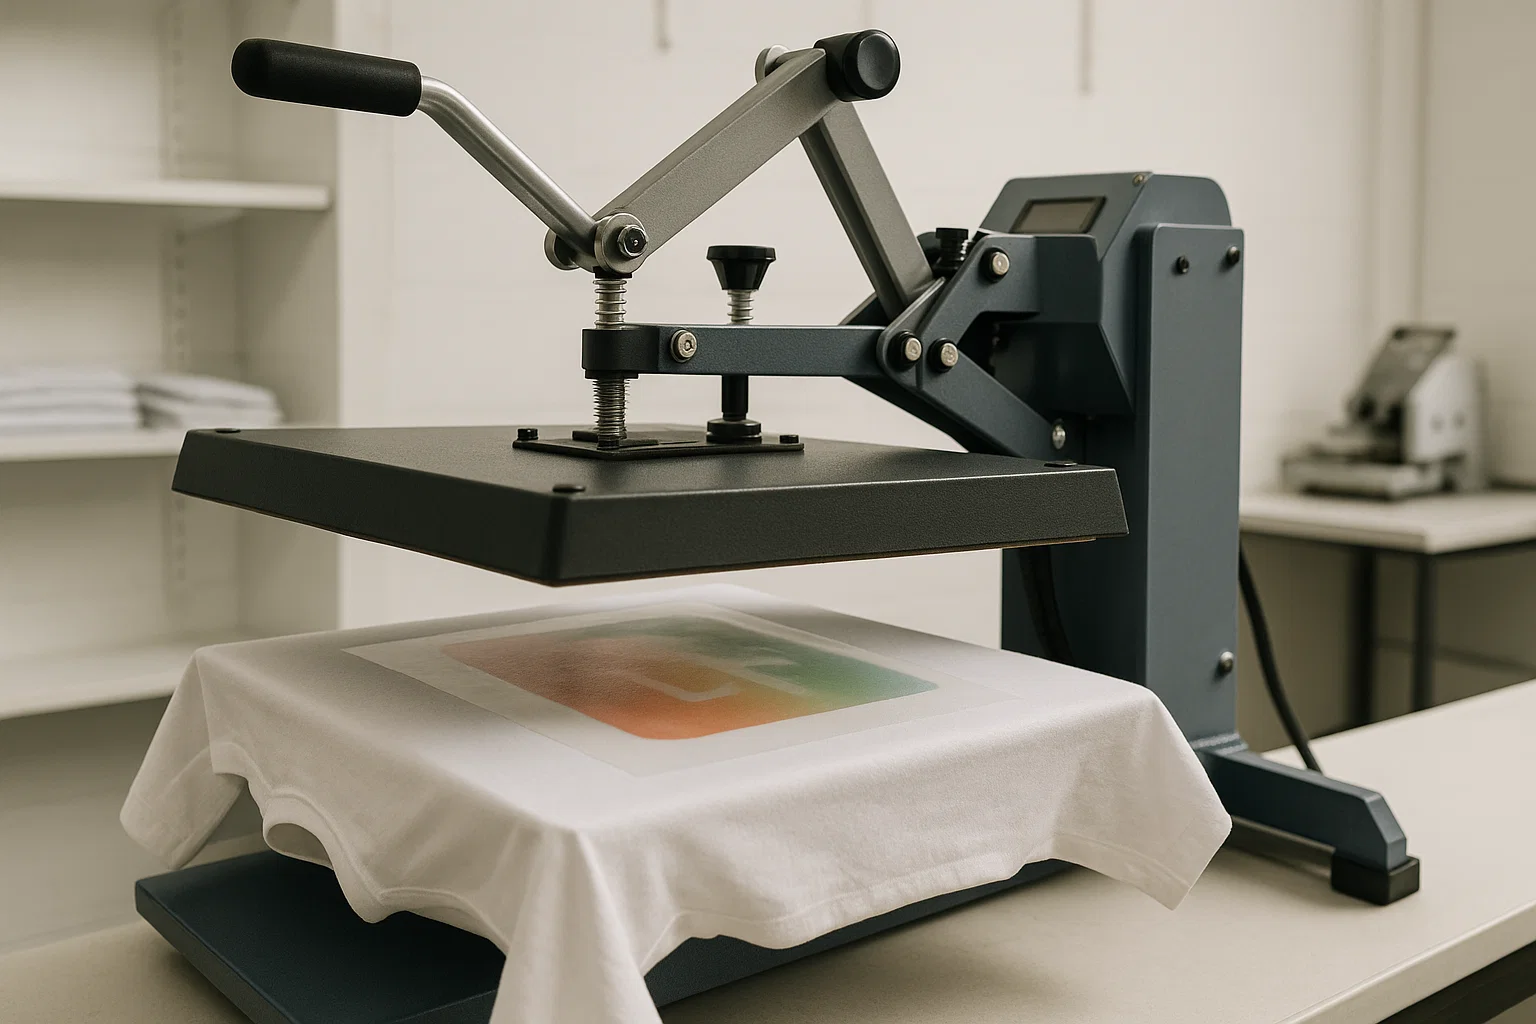
Correct heat press technique is essential for durable DTF transfers.
DTF pressing instructions are the final and most critical step in Direct to Film printing. Even perfectly printed transfers can fail if pressing is done incorrectly. In 2026, as DTF becomes a standard production method for custom apparel, following proper pressing instructions is essential for durability, consistency, and professional results.
This guide explains DTF pressing instructions step by step, covering preparation, pressing technique, peeling methods, and finishing steps used by experienced print shops.
Quick DTF Pressing Checklist (2026)
For standard DTF transfers, use this checklist before every press:
-
Heat press fully warmed up
-
Garment pre-pressed to remove moisture
-
Transfer positioned correctly
-
Medium to firm pressure applied
-
Correct peel method followed
-
Optional finishing press completed
This checklist alone prevents most DTF pressing failures.
Step-by-Step DTF Pressing Instructions
Step 1: Prepare the Garment Surface
Lay the garment flat on the heat press platen. Ensure there are no wrinkles, seams, or folds under the pressing area. Uneven surfaces lead to poor adhesion and inconsistent pressure.
Step 2: Pre-Press to Remove Moisture
Pre-press the garment for 3–5 seconds without the transfer. This removes moisture and smooths the fabric surface. Skipping this step is one of the most common causes of peeling and poor wash durability.
Step 3: Position the DTF Transfer
Place the DTF transfer face down on the garment, aligning it carefully. The adhesive side should be in contact with the fabric. Double-check placement before pressing, as moving the transfer after heat contact can cause ghosting or blurred edges.
Step 4: Apply Heat and Pressure
Close the heat press smoothly and apply medium to firm pressure. Press using the recommended temperature and time specified by the transfer manufacturer. Avoid slamming the press, as sudden movement can shift the transfer.
Consistent pressure across the entire design is critical for even bonding.
Step 5: Peel the Transfer Film Correctly
Follow the peel method specified for your transfer film.
-
Cold peel: Allow the garment to cool completely before peeling
-
Hot peel: Peel immediately after pressing if recommended
Peeling too early or too late can damage the print or lift edges.
Step 6: Perform a Finishing Press (Optional but Recommended)
After peeling, cover the design with a Teflon sheet or parchment paper and press again for 3–5 seconds. This step improves adhesion, smooths the print surface, and increases wash resistance.
Most professional DTF operations include a finishing press as standard practice.
DTF Pressing Instructions by Fabric Type
Different fabrics require slight adjustments to pressing technique.
Cotton
Cotton is forgiving and responds well to standard pressing instructions. Medium to firm pressure ensures full adhesive activation.
Polyester
Polyester benefits from slightly lower temperatures and careful pressure control to prevent scorching or dye migration. Always test before production runs.
Cotton-Poly Blends
Blends generally press well with standard instructions but may require slightly reduced dwell time.
Performance and Stretch Fabrics
Use lower temperatures and shorter press times. Always perform test presses to avoid damaging elasticity.
Common DTF Pressing Mistakes to Avoid
Using Insufficient Pressure
DTF transfers require firm, even pressure. Light pressure leads to incomplete adhesion and peeling.
Pressing on Uneven Surfaces
Buttons, seams, or platen gaps reduce pressure consistency. Use pressing pillows when necessary.
Sliding the Heat Press
Movement during pressing causes blurred edges and poor bonding.
Ignoring Film Instructions
Not all DTF films behave the same. Always follow supplier recommendations for peel method and pressing conditions.
How to Check If a DTF Press Was Successful
After pressing and peeling, inspect the design carefully:
-
Edges fully bonded with no lifting
-
Smooth surface with even texture
-
Design stretches slightly without cracking
If issues appear, adjust pressure or pressing time before continuing production.
Troubleshooting DTF Pressing Issues
-
Edges lifting: Increase pressure or add finishing press
-
Design cracking: Reduce temperature or second press time
-
Film sticking: Allow more cooling time or confirm peel type
-
Faded colors: Check heat press calibration
Small adjustments usually resolve pressing problems quickly.
Professional Tips for Consistent DTF Pressing
Experienced printers follow these habits:
-
Warm up the heat press fully before production
-
Use consistent pressure settings
-
Keep a log of pressing settings for each fabric
-
Perform test presses when switching materials
-
Clean platen surfaces regularly
Consistency is the foundation of scalable DTF production.
Final Thoughts
DTF pressing instructions are not optional guidelines. They are a controlled process that determines whether a transfer lasts or fails.
In 2026, successful DTF printing depends on disciplined pressing technique, correct pressure, and careful peel timing. By following these step-by-step DTF pressing instructions, print shops and apparel businesses can achieve consistent, durable results across a wide range of garments.
Mastering the pressing stage transforms DTF from a trial-and-error method into a reliable production workflow.