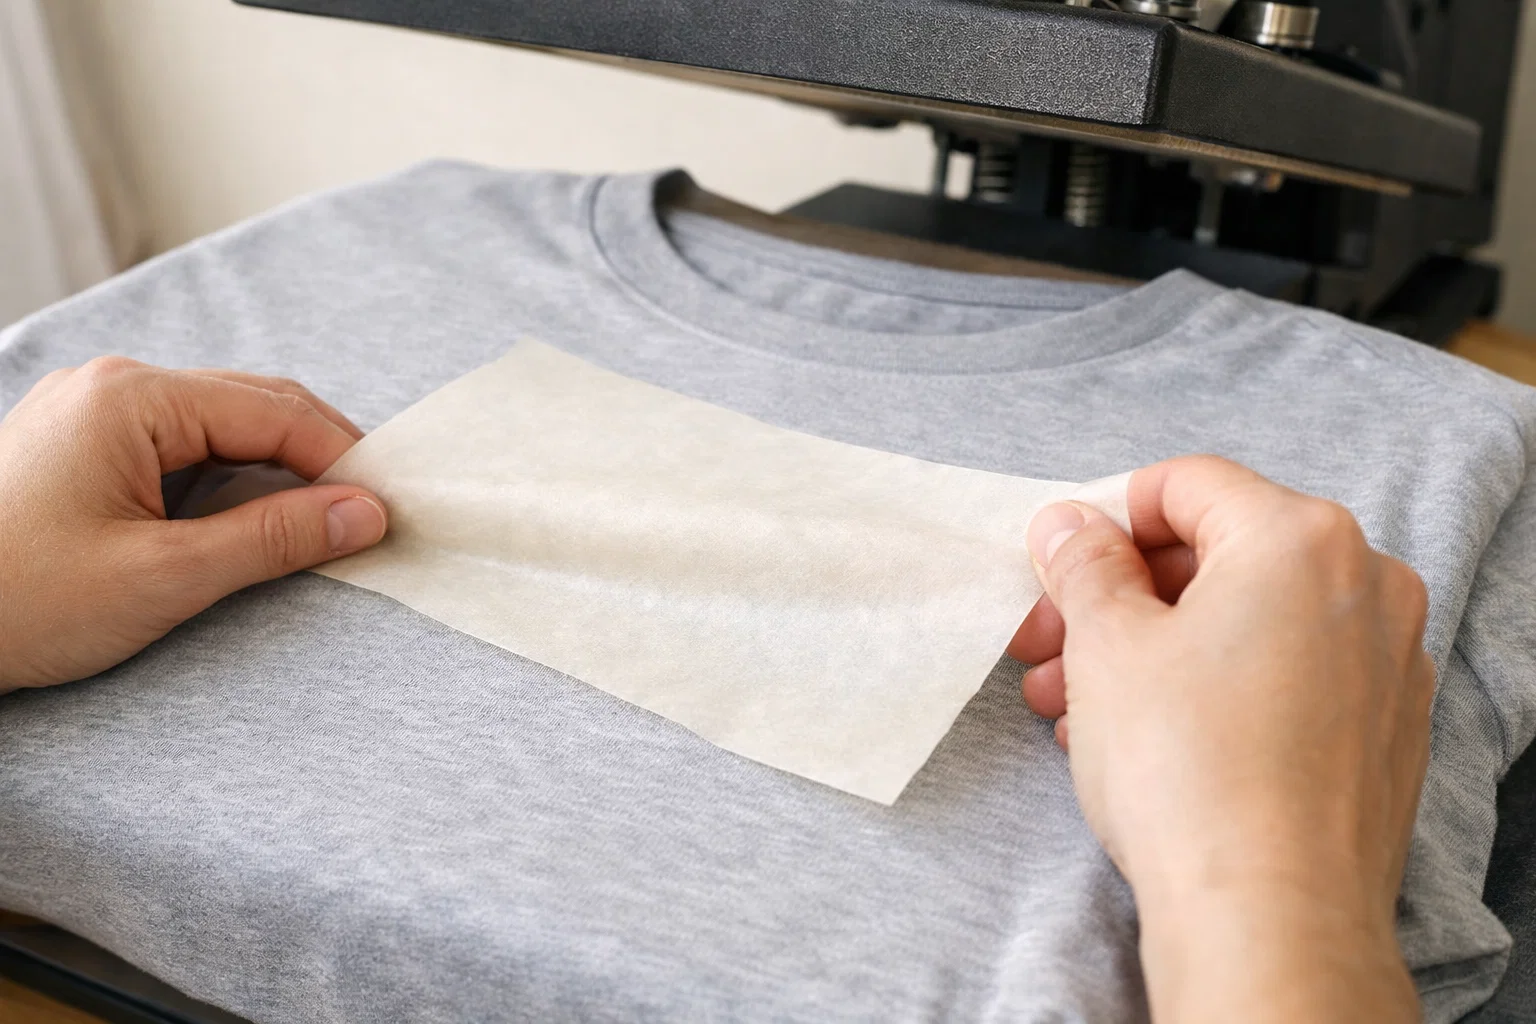
A successfully removed DTF print showing a clean, undamaged fabric surface.
Direct to Film printing is designed to create durable, long lasting transfers that bond tightly to fabric. That strength is exactly what makes DTF popular among apparel brands and print shops. However, mistakes still happen. A design may be pressed crooked, applied at the wrong temperature, cracked during curing, or placed on the wrong garment entirely. When that happens, knowing how to remove DTF from a shirt can help reduce losses and sometimes save the garment.
Removing DTF transfers is not as simple as peeling off vinyl. DTF adhesive is engineered to penetrate fabric fibers, which makes removal more difficult but not impossible. With the right approach, controlled heat, and patience, many DTF prints can be partially or fully removed without destroying the shirt.
This guide explains professional, fabric safe methods used in the DTF printing industry to remove transfers while minimizing damage.
Can DTF Transfers Be Removed From Shirts?
DTF transfers are considered semi permanent. They are not meant to be removed once cured, but removal is possible in many situations. Success depends on several factors, including fabric type, adhesive strength, curing time, and how aggressively the transfer was applied.
In general, removal is easier when:
-
The transfer was recently applied
-
The fabric is 100 percent cotton
-
Lower cure temperatures were used
-
The adhesive layer is thin
Removal becomes more difficult on polyester, blended fabrics, and heavily cured prints. Complete removal is never guaranteed, but significant reduction or correction is often achievable.
Why Removing DTF From Fabric Is Difficult
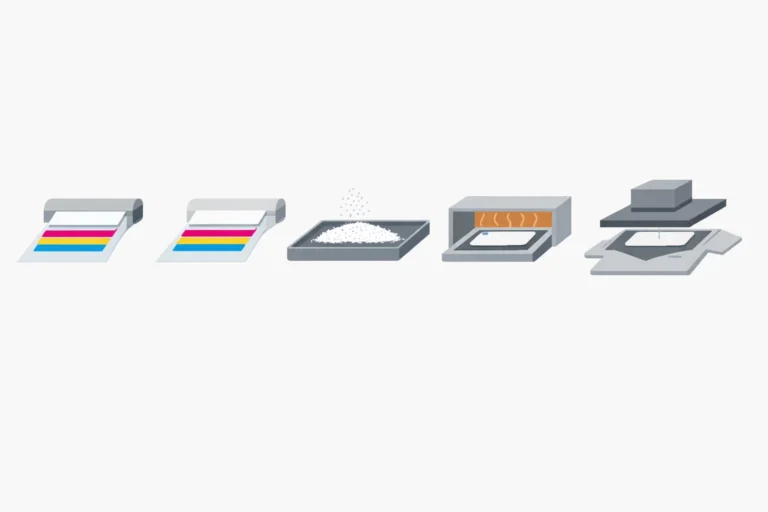
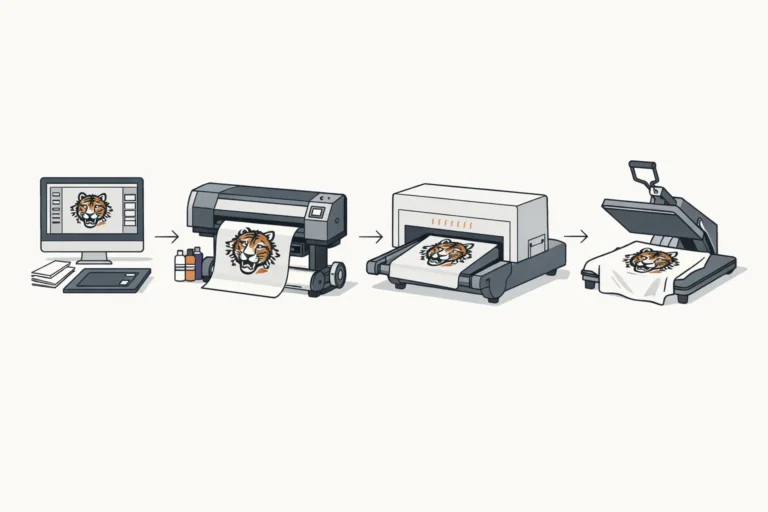
DTF works by combining heat, pressure, and adhesive powder. During pressing, the adhesive melts and flows into the fabric fibers. Once cooled, it creates a strong mechanical bond rather than simply sitting on top of the garment.
Unlike heat transfer vinyl, which can often be reheated and peeled cleanly, DTF adhesive embeds itself into the fabric structure. This is why aggressive scraping or excessive heat can easily damage the shirt.
Understanding this bond is critical before attempting removal. The goal is to soften the adhesive enough to release it while keeping the fabric intact.
Important Things to Know Before Removing DTF
Before attempting to remove a DTF print, consider the following:
-
Always test on a small hidden area first
-
Expect partial removal rather than perfection
-
Never rush the process
-
Fabric integrity is more important than full removal
Trying to force complete removal can lead to scorched fibers, stretched fabric, or permanent shine marks, especially on polyester garments.
Best Fabrics for DTF Removal
Not all fabrics react the same way to heat and adhesive breakdown.
Safest Fabrics
-
100 percent cotton
-
Heavyweight cotton blends with high cotton content
Higher Risk Fabrics
-
Polyester
-
Performance fabrics
-
Tri blends
-
Stretch materials
Cotton fibers tolerate heat better and release adhesive more predictably, making cotton shirts the best candidates for DTF correction.
Method 1: Heat Re Activation Removal Method
This is the safest and most widely used technique. It relies on reheating the adhesive to soften the bond so the transfer can be lifted.
What You Need
-
Heat press or household iron
-
Parchment paper or Teflon sheet
-
Heat resistant gloves or cloth
Step by Step Instructions
-
Set the heat press to approximately 300 to 320 degrees Fahrenheit
-
Place parchment paper or a Teflon sheet over the DTF design
-
Press for 5 to 8 seconds to soften the adhesive
-
Remove the shirt while still warm
-
Gently lift the edge of the transfer and peel slowly
-
Stop immediately if fabric resistance increases
-
Repeat the process for stubborn sections
This method works best when the adhesive has not fully crystallized and the transfer is relatively fresh.
Method 2: Iron Based DTF Removal (Home Option)
If a heat press is not available, a household iron can be used carefully.
Key Tips
-
Turn off steam completely
-
Use medium to high heat depending on fabric
-
Always use parchment paper
Apply heat in short intervals and peel gradually. Avoid dragging the iron, as this can stretch the fabric.
Method 3: Adhesive Residue Removal
After peeling the main transfer, adhesive residue may remain embedded in the fabric.
Safe Removal Options
-
Isopropyl alcohol (spot testing required)
-
Citrus based adhesive removers labeled fabric safe
-
DTF specific adhesive removers
Apply a small amount to a lint free cloth and gently rub the affected area. Do not saturate the fabric. Excess liquid can weaken fibers or leave stains.
Method 4: Stretch and Lift Technique
This method helps release adhesive from the fibers rather than tearing them.
How It Works
-
Reheat the area lightly
-
Gently stretch the fabric in opposite directions
-
Lift adhesive slowly as it releases
-
Clean residue afterward
This technique requires patience but reduces fabric stress, especially on cotton shirts.
What Not to Do When Removing DTF
Avoid these common mistakes, which often cause irreversible damage:
-
Using scraping tools or blades
-
Applying maximum heat for long periods
-
Pulling aggressively while cold
-
Using harsh chemical solvents
-
Soaking the garment
Most damage happens when force is applied instead of controlled heat.
Can You Reprint After Removing DTF?
Yes, reprinting is possible if the fabric surface is properly prepared.
Before reprinting:
-
Remove all adhesive residue
-
Ensure the surface is smooth
-
Lightly press the area with parchment paper
-
Allow the fabric to cool completely
If fibers are raised, a lint roller or light brushing can help restore a flat surface.
When Removal Is Not Worth It
Sometimes removing a DTF transfer is not cost effective.
Replacement may be the better option when:
-
The fabric is polyester
-
The adhesive is fully cured and thick
-
Heat damage has already occurred
-
The garment value is low
Experienced print shops often set a limit on removal attempts to protect productivity.
Professional Tips for Preventing DTF Mistakes
The best way to deal with removal is to avoid the need altogether.
Prevention tips include:
-
Double check alignment before pressing
-
Verify temperature and time settings
-
Use test presses on scrap garments
-
Allow prints to cool before handling
-
Follow manufacturer curing instructions
Most DTF errors occur during setup rather than printing.
Frequently Asked Questions
Can DTF be completely removed from a shirt?
Complete removal is sometimes possible but not guaranteed. Results depend on fabric type, adhesive strength, and curing conditions.
Does removing DTF damage fabric?
If done carefully, damage can be minimized, but some risk always exists, especially on synthetic fabrics.
Is heat or chemical removal better?
Heat should always be the first method. Chemicals should only be used for leftover adhesive residue.
Can I reuse the shirt after removal?
Yes, if the fabric remains intact and adhesive residue is fully removed.
Final Thoughts on Removing DTF From Shirts
Removing DTF from a shirt requires patience, realistic expectations, and careful technique. While DTF transfers are designed to last, mistakes do not always mean a total loss. By using controlled heat, gentle lifting, and fabric safe cleanup methods, many shirts can be corrected or repurposed.
For print professionals, understanding DTF removal is part of quality control. Knowing when to attempt removal and when to replace a garment can save time, money, and customer relationships.