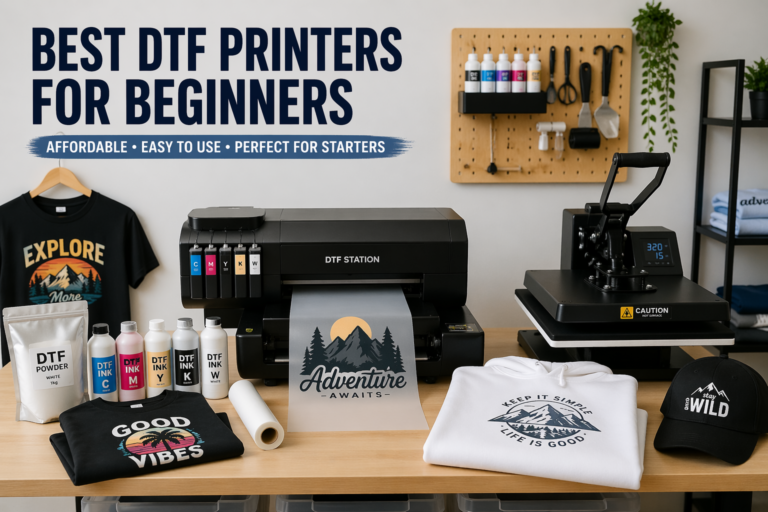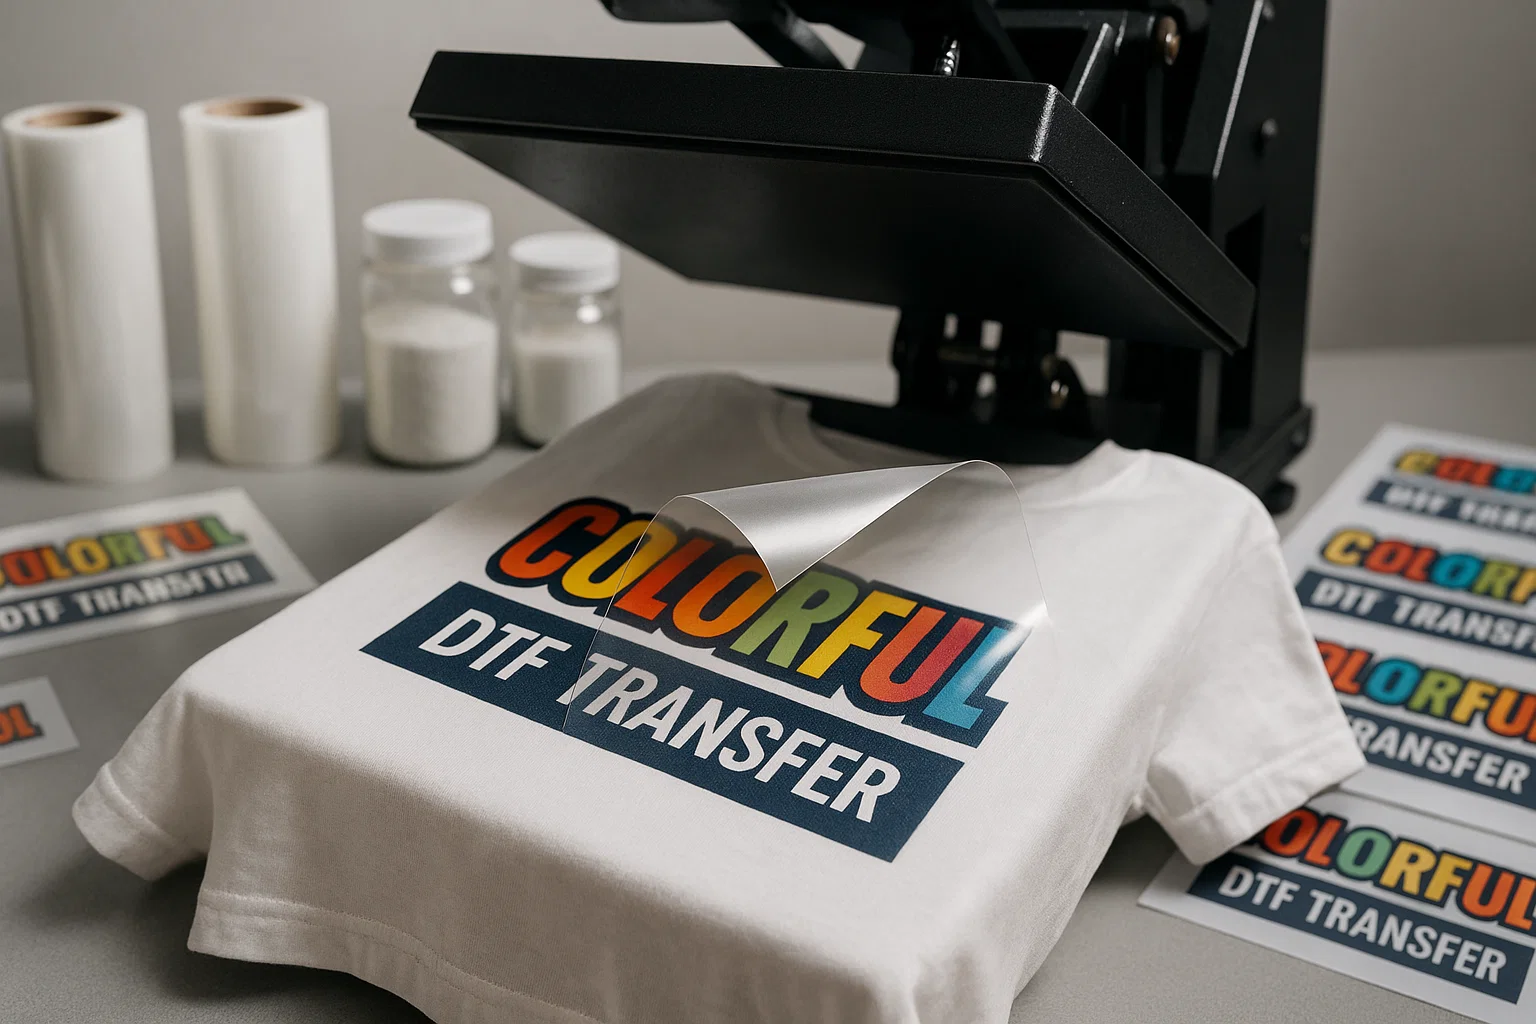
How to apply a DTF transfer correctly using a heat press, including the peel step for a clean and vibrant finish.
Direct to Film printing has become one of the most popular methods for creating high quality, full color apparel. Whether you run a print shop, sell custom shirts online, or work on personal design projects, DTF transfers allow you to apply almost any artwork onto fabric with consistent, durable results. The technology continues to grow because it is flexible, vibrant, stretch resistant, and easy to scale for both small and large production runs.
Even though DTF is more beginner friendly than methods like screen printing or DTG, you still need to follow the correct application steps to get the best possible finish. Proper pressing temperature, pressure, curing, and peeling technique all play a major role in how the final print feels and performs. This guide explains everything you need to know so you can apply DTF transfers confidently and professionally.
Below is a full breakdown of materials, preparation steps, pressing instructions, advanced tips, and troubleshooting strategies.
What You Need to Apply DTF Transfers
Before you begin, make sure you have the following items ready:
-
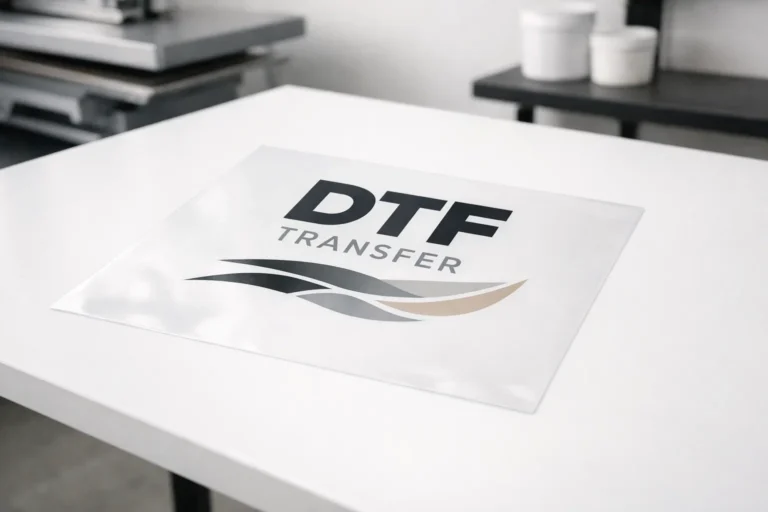
A high quality DTF transfer sheet
-
A heat press (manual, clamshell, or swing away)
-
The garment you are applying the transfer to
-
A lint roller or pre-press cloth
-
Protective Teflon sheet or parchment paper (optional)
-
A firm, flat pressing surface
Unlike vinyl or sublimation, DTF requires no pretreatment, which makes it one of the easiest methods to implement.
Step 1: Prepare the Garment
Start by laying the garment flat on the heat press. Use a lint roller to remove dust, hair, or fibers. Any debris under the transfer can cause bumps, uneven adhesion, or imperfections in the print.
Pre-pressing is important
Before placing your DTF transfer, press the garment alone for 3 to 5 seconds. This removes moisture, smooths wrinkles, and prepares the fabric for strong adhesion. Moisture is one of the biggest reasons prints fail to bond correctly, especially with cotton garments.
Step 2: Position the DTF Transfer
Place the transfer sheet face up, with the printed film side facing you and the adhesive side touching the garment. Position it exactly where you want the design to appear. DTF transfers have a slightly sticky surface that helps keep them from shifting during pressing.
If you’re decorating shirts in bulk, use a positioning ruler or T-square tool to ensure consistent placement.
Step 3: Press the Transfer
The correct heat press settings can vary slightly depending on the film and powder formula used, but most DTF transfers follow this standard range:
-
Temperature: 300 to 320°F (149 to 160°C)
-
Time: 12 to 15 seconds
-
Pressure: Medium to firm
Place the transfer on the garment and close the press completely. Maintaining even pressure across the entire design is crucial for clean edges and fully bonded adhesive.
You may place a Teflon sheet on top, but most DTF sheets can be pressed without one. If your heat press has uneven heat distribution, a parchment or Teflon sheet can help protect the film.
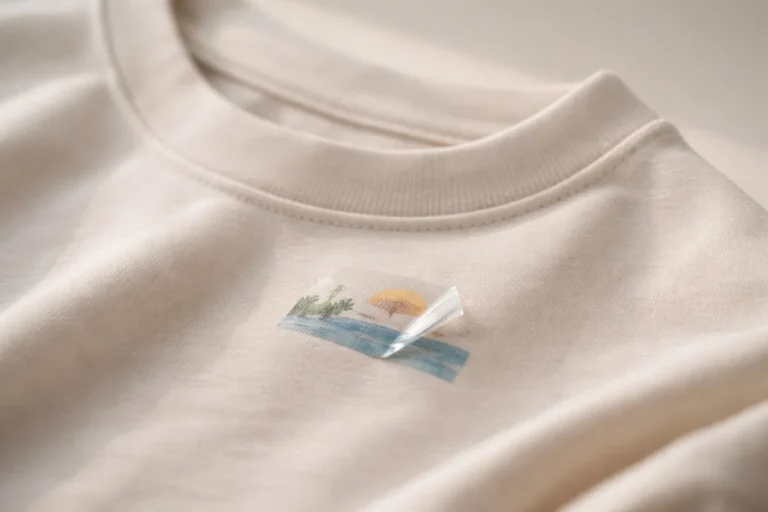
Step 4: Peel the Transfer Sheet
DTF transfers come in two types: cold peel and hot peel.
Cold Peel
Most standard DTF sheets are cold peel.
This means:
-
Remove the garment from the press
-
Let it cool fully for 10 to 20 seconds
-
Peel the film slowly and evenly
Cold peel generally results in sharper details and stronger adhesion.
Hot Peel
Some transfers are designed for fast production.
These can be peeled immediately after pressing.
Always check the supplier’s instructions so you know which peel type you have.
Step 5: Post-Press for Durability
After peeling the film, place the garment back on the press for 5 to 10 seconds. This is called a post-press or final cure.
Post-pressing improves:
-
Wash durability
-
Color sealing
-
Softness of the print
-
Matte or smooth finish depending on your paper
If you want a matte finish, place parchment paper on top before pressing.
If you want a glossy finish, use Teflon.
Troubleshooting Common Issues
Even experienced printers run into issues occasionally. Here are the most common problems and how to fix them.
1. Edges Lifting
Cause: Not enough pressure or low temperature.
Fix: Increase pressure slightly and re-press for 5 to 8 seconds.
2. Parts of the print not sticking
Cause: Moisture in the garment or uneven heat.
Fix: Pre-press longer and confirm press temperature is accurate.
3. Print looks dull or grainy
Cause: Under-cured or poor quality transfer.
Fix: Post-press longer, or consider switching suppliers.
4. Cracking after washing
Cause: Not enough pressure or skipping the final cure.
Fix: Always do a second press after peeling.
5. Color distortion or ghosting
Cause: Transfer moved during pressing.
Fix: Apply firmer pressure and ensure garment is flat.
Fabric Types and DTF Performance
One of the biggest reasons DTF became popular is its wide fabric compatibility. Here’s how the method performs across different materials:
-
Cotton: Excellent adhesion, vibrant colors
-
Polyester: Works very well, no migration issues
-
Blends: Perfect for streetwear and merch
-
Nylon: Good with correct pressure and temperature
-
Denim: High durability, great opacity
-
Dark fabrics: Outstanding color brightness
This versatility makes DTF suitable for apparel brands, on-demand sellers, event clothing, children’s products, uniforms, and much more.
Best Practices for Professional Results
To take your production quality to the next level, follow these expert tips:
-
Always store transfers in a cool, dry place
-
Keep garments flat and wrinkle-free during pressing
-
Confirm your press temperature with a heat gun if possible
-
Use consistent pressure across batches
-
Do not wash garments for 24 hours after application
-
Educate customers on care instructions
The more consistent your workflow, the more consistent your prints.
Why DTF Transfers Are Ideal for Businesses
DTF has transformed the apparel decoration industry because it offers:
-
Fast production
-
Low material waste
-
High detail and color accuracy
-
No pre-treatment
-
Strong durability
-
Affordable entry cost
Whether you run a small studio or a large print shop, DTF transfers allow you to produce premium results without advanced equipment or complex processes.
Conclusion
Applying DTF transfers is straightforward once you understand the key steps. Preparation, correct pressing settings, proper peeling technique, and post-pressing all work together to produce long lasting, professional results. With practice, you can decorate almost any fabric with bold, durable prints that stand out in both color and quality.
DTF continues to reshape the printing industry, and learning how to apply transfers correctly ensures that your apparel looks clean, vibrant, and ready for customers.
About the Author