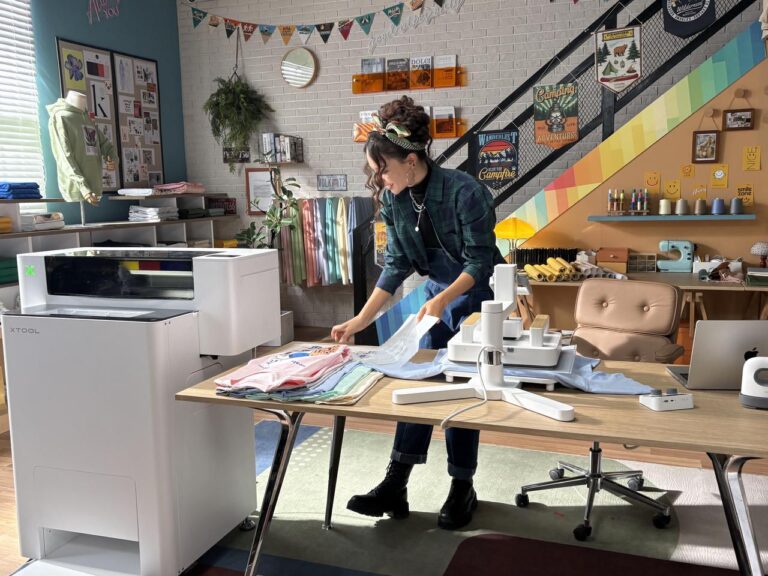
Walk into any apparel studio, craft workspace, or small-batch merchandise shop today and you will hear the same question: How do you print DTF transfers the right way? Over the last few years, Direct to Film printing has become one of the most influential technologies reshaping custom apparel. It is used by global factories, Etsy sellers, influencers launching personal brands, and local print shops trying to keep up with modern demand.
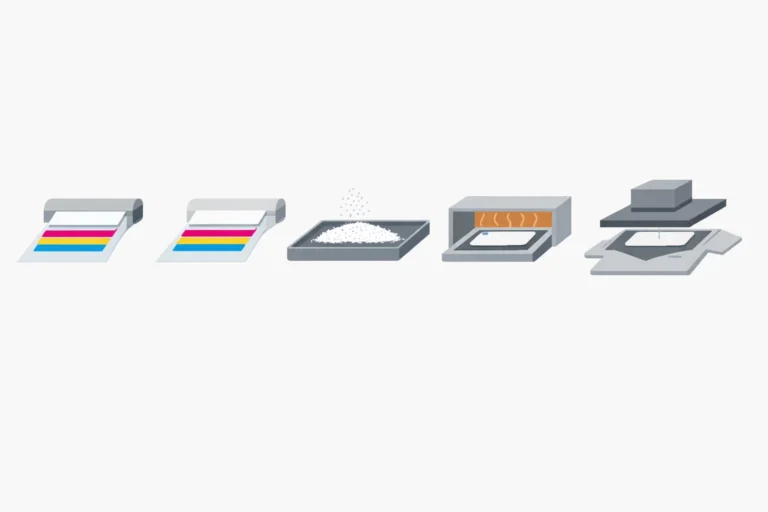
The process itself might appear simple at first. Print design on film, apply powder, cure, and press. Yet professionals know it is a technical craft that blends art, chemistry, and precision. When executed correctly, DTF can deliver high vibrancy, strong durability, and the kind of versatility that traditional methods struggle to match.
This is a deep, newsroom-style exploration into how to print DTF transfers step by step, why the method works, and what separates amateur results from professional-grade production.
The Rise of DTF Printing and Why It Matters
To understand how to print DTF transfers, you must understand what drove the technology’s rapid ascent. The apparel decoration world hit a plateau with screen printing and direct to garment printing. Screen printing requires large batches, heavy labor, and multiple screens. DTG printing, while revolutionary, is limited by fabric type, pretreatment processes, and color inconsistencies.
DTF solved these problems by creating a workflow that is fabric-independent, scalable, and remarkably efficient. The film itself becomes a portable, press-ready asset. Shops can print hundreds of transfers in advance, store them, and apply them only when needed. This flexibility made DTF a global force across both small creators and industrial production lines.
Understanding the Core Components Before You Begin
Learning how to print DTF transfers requires familiarity with each element involved. Every component influences the final quality.
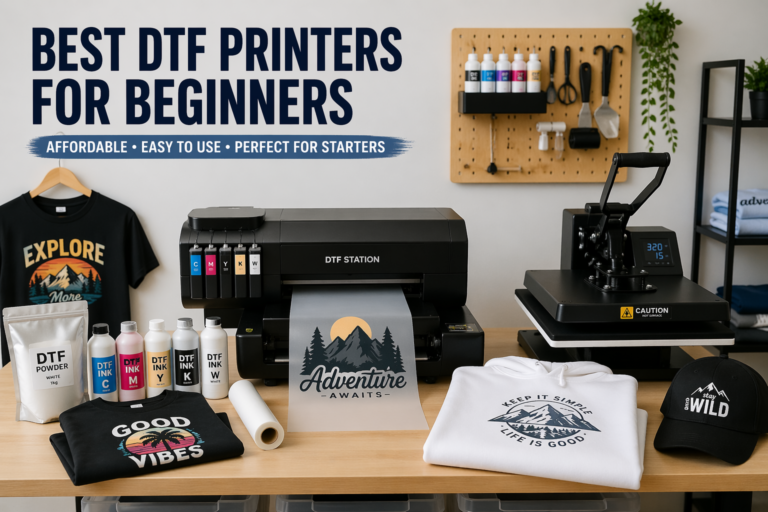
1. The DTF Printer
DTF printers range from modified desktop units to industrial four-head machines. Professional users gravitate toward printers with stable white ink circulation, consistent nozzle performance, and accurate color management. White ink density is one of the most critical variables in this process.
2. PET Film
This is not standard transparency film. DTF PET film has a specific coating that accepts ink evenly and allows powder to adhere properly. Films come in cold peel, warm peel, and hot peel varieties, each offering different finishing characteristics.
3. DTF Powder (Hot Melt Adhesive)
This powder is the bonding agent. It melts into the ink during curing, creating the adhesive layer that later attaches to fabric. High-quality powder melts evenly without clumping, yellowing, or producing rough edges.
4. Inks
DTF inks consist of CMYK color inks plus a white base layer. The white ink is thicker than standard pigment ink and requires constant movement to prevent settling.
5. Heat Source for Curing
Professionals often use a curing oven for consistency, though some small shops begin with a heat press. Temperature, distance, and timing determine whether the adhesive powder melts evenly without burning.
6. Heat Press for Transfer
The final step requires a stable press that applies consistent heat and pressure. Variations in pressure can alter the final finish dramatically.
With these essentials in place, let us walk through the complete, professional method of printing DTF transfers.
Step 1: Preparing the Artwork
The workflow begins on the screen long before it reaches the printer. DTF prints thrive on sharp, vibrant imagery. Designers typically prepare artwork in Adobe Illustrator, Photoshop, Procreate, or similar tools.
Key preparation practices:
-
Use high-resolution artwork, ideally 300 DPI.
-
Colors should be converted to RGB for accurate digital output.
-
All backgrounds should be removed, ensuring clean edges.
-
Add stroke or outlines when needed to prevent soft borders on dark garments.
Unlike sublimation or vinyl cutting, DTF allows for gradients, detailed illustrations, and full-color blends without additional complexity.
Step 2: Loading the Film and Configuring the Printer
PET film must be loaded with care. The printable side usually has a matte texture, and loading it incorrectly is one of the most common beginner mistakes.
Printer settings vary by model, but several principles remain universal:
White Ink Layering
DTF printing requires a white layer underneath the colors. Without it, the design appears dull or washed out, especially on dark fabric. Professionals adjust the white density according to fabric type and desired opacity.
Ink Saturation
Excessive ink leads to smudging and poor powder adhesion. Too little results in weak colors. Proper saturation sits in the middle.
Printing Direction
Many shops prefer unidirectional printing for maximum precision, though bidirectional printing is faster.
Once configured, the printer begins producing the design in reverse order: CMYK inks first, then white ink as the final backing.
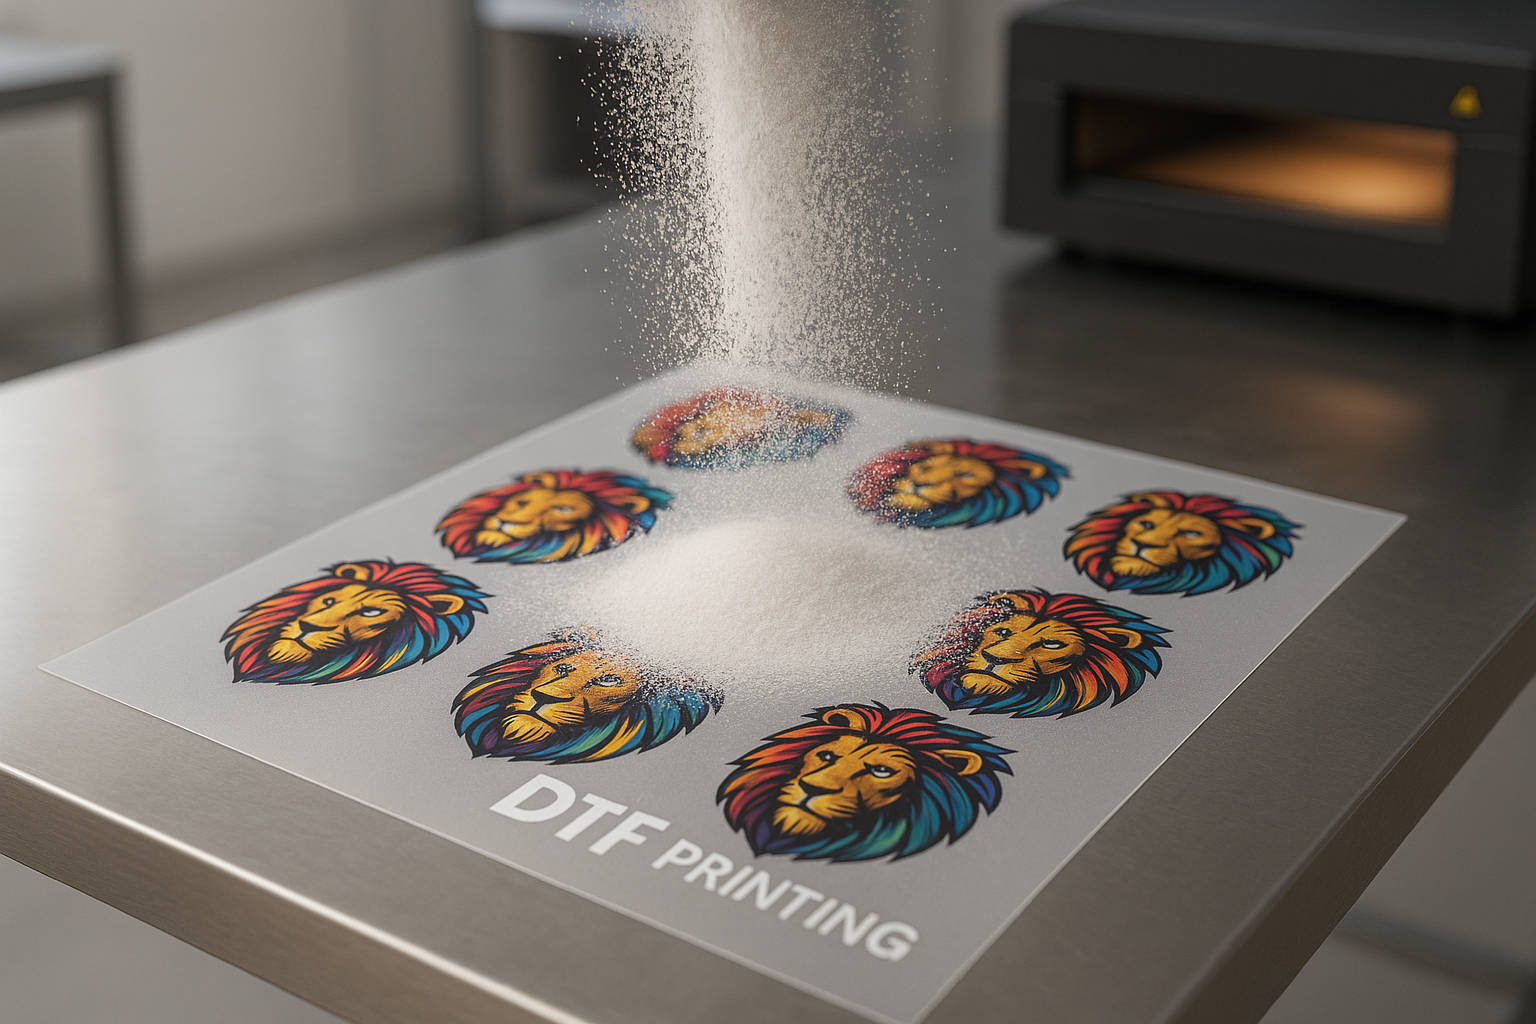
Step 3: Applying the Adhesive Powder
This is one of the most delicate steps when learning how to print DTF transfers. As soon as the design exits the printer, the inks are still wet. The adhesive powder must be applied immediately to ensure proper bonding.
Professional application techniques:
-
Gently sprinkle powder over the entire printed area.
-
Lift the film and roll it in multiple directions to ensure even coverage.
-
Shake off all excess powder. No clumping, no residue.
-
Inspect the edges of the artwork to ensure that powder covers every corner.
The smoothness of the powder layer influences how clean and professional the final print appears.
Step 4: Curing the Powder
Curing is the chemical transformation that turns wet ink and powder into a solid, durable transfer. Professionals often use curing ovens because they produce consistent results, but a heat press (hovering above the film without touching) can work for small setups.
Key curing parameters:
-
Temperature: Usually between 250°F and 300°F, depending on film type.
-
Duration: 1 to 3 minutes.
-
Distance: The heat source must not contact the film directly unless otherwise specified.
-
Appearance: Powder should melt completely, turning into a smooth, glossy surface.
Inadequate curing leads to cracking or peeling once pressed onto fabric. Overcuring can burn the transfer or cause a gritty texture.
Step 5: Preparing the Garment
The fabric must be prepped to ensure proper adhesion. Moisture, wrinkles, or lint can interfere with bonding.
Professional garment preparation includes:
-
Pre-pressing the garment for 3 to 5 seconds to remove moisture.
-
Using a lint roller to eliminate particles.
-
Ensuring the shirt or fabric lies perfectly flat on the heat press.
This simple preparation step dramatically improves final print quality.
Step 6: Heat Pressing the DTF Transfer
Now we reach the moment where the transfer meets the fabric. The press settings depend on film type, but most fall into similar ranges.
Standard pressing parameters:
-
Temperature: 300°F to 325°F
-
Pressure: Medium to firm
-
Duration: 10 to 15 seconds
-
Peel Type: Hot peel, warm peel, or cold peel depending on film used
Professionals emphasize pressing pressure just as much as temperature. Too light and the print sits on the garment instead of bonding. Too heavy and it can flatten or distort the design.
Step 7: Post-Pressing for Durability
After peeling the film, many professionals perform a second press with parchment paper or a finishing sheet. This step:
-
Enhances durability
-
Improves wash resistance
-
Softens the texture
-
Adds a polished final appearance
A brief 5 to 10 second post-press can make a significant difference in long-term performance.
Common Mistakes When Printing DTF Transfers
Even experienced users encounter issues from time to time. Here are the most common pitfalls.
1. White Ink Clogging
DTF white ink is dense and prone to settling. Printers require daily agitation and regular maintenance to keep nozzles clear.
2. Overpowdering
Applying too much adhesive powder leads to rough textures and thick edges.
3. Undercuring
Incomplete curing prevents proper bonding and causes peeling after washing.
4. Incorrect Pressure
If the print does not bond fully, pressure is usually the culprit, not temperature.
5. Moisture in the Fabric
DTF transfers do not bond well when the garment contains moisture. Pre-pressing is essential.
Why Professionals Prefer DTF Over Other Methods
Understanding how to print DTF transfers also means understanding why the method continues to dominate the custom apparel world.
Versatility
DTF works on cotton, polyester, blends, fleece, nylon, canvas, denim, leather, and more.
Scalability
Transfers can be printed in bulk and used on-demand.
Color Performance
DTF prints produce exceptional vibrancy, including gradients, shadows, and fine details.
Durability
When pressed correctly, prints resist cracking, fading, and peeling over dozens of washes.
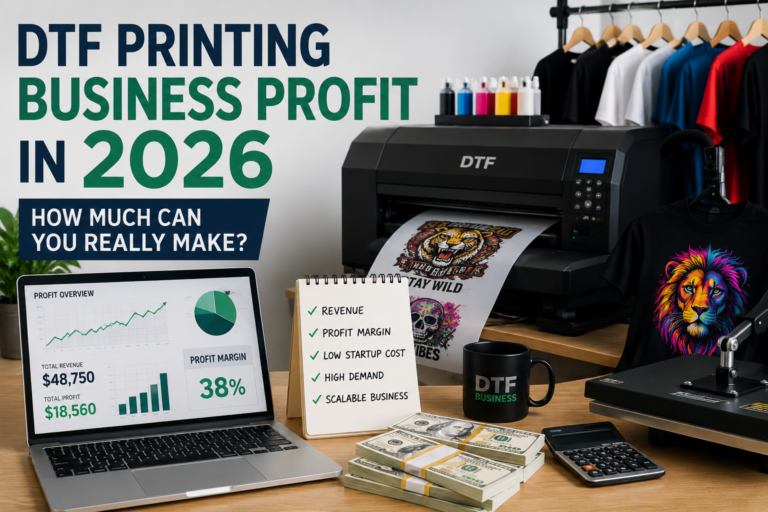
Economic Efficiency
DTF eliminates many of the setup costs of screen printing and the pretreatment requirements of DTG.
For creators who sell custom apparel, it offers a blend of flexibility and reliability unmatched by most methods.
A Look Inside a Modern DTF Production Environment
High-volume shops treat DTF printing like a manufacturing system. Roll printers print continuously, ovens cure multiple sheets at a time, and automated powder shakers ensure perfect consistency.
Brands producing merchandise for influencers, musicians, and corporate events use DTF because it allows fast production cycles with fewer bottlenecks. Designers can update artwork instantly without the limitations that screen printing imposes.
The technology has also become a cornerstone of the online creator economy. Etsy shops sell custom transfers, allowing customers to press designs at home. TikTok entrepreneurs build apparel brands powered entirely by DTF workflows.
The Future of DTF Printing
DTF is growing rapidly, and innovation shows no signs of slowing.
Industry experts cite several key advancements ahead:
-
Faster, more stable white inks
-
Eco-friendly PET films and powders
-
AI-driven automated color correction
-
Larger-format roll printers for industrial work
-
Hybrid DTF-DTG printers for extended versatility
The question is no longer whether DTF will shape the apparel industry. It already has. The question now is how far the technology will evolve.
Conclusion: Mastering How to Print DTF Transfers
Learning how to print DTF transfers is not merely a technical skill. It is a craft rooted in precision, chemistry, and artistry. Each step, from digital artwork to final pressing, influences the outcome. When done correctly, DTF delivers some of the most vibrant, durable prints available in modern garment decoration.
For small creators, it provides a path to entrepreneurship. For large manufacturers, it offers agility and efficiency. For the printing world as a whole, it represents a transformative shift toward a more flexible and accessible future.
Whether you are a newcomer or an experienced professional refining your workflow, mastering the DTF process opens the door to extraordinary creative potential.