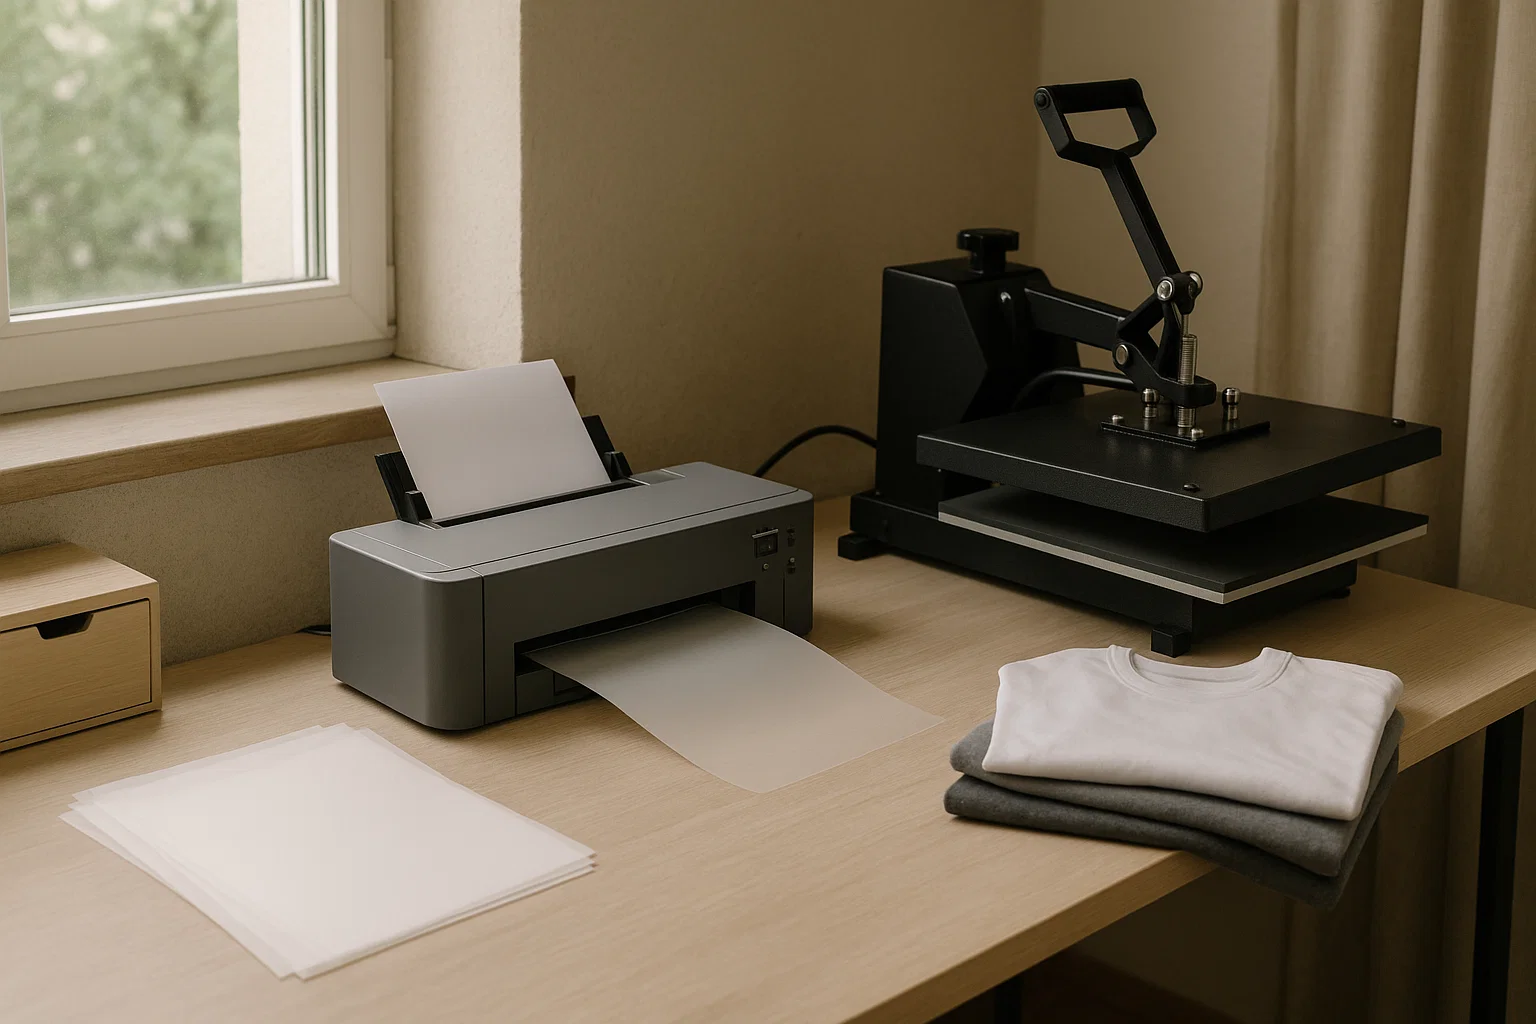
A typical home DTF setup using a compact printer, transfer film, and heat press for small scale production.
Direct to Film printing is no longer limited to commercial print shops. In recent years, advances in compact printers, consumables, and heat press equipment have made it possible to produce DTF transfers at home. For creators, small brands, and hobbyists, learning how to make DTF transfers at home opens the door to custom apparel without outsourcing production.
This guide explains the home DTF process in practical terms, focusing on setup, workflow, and realistic expectations rather than industrial scale production.
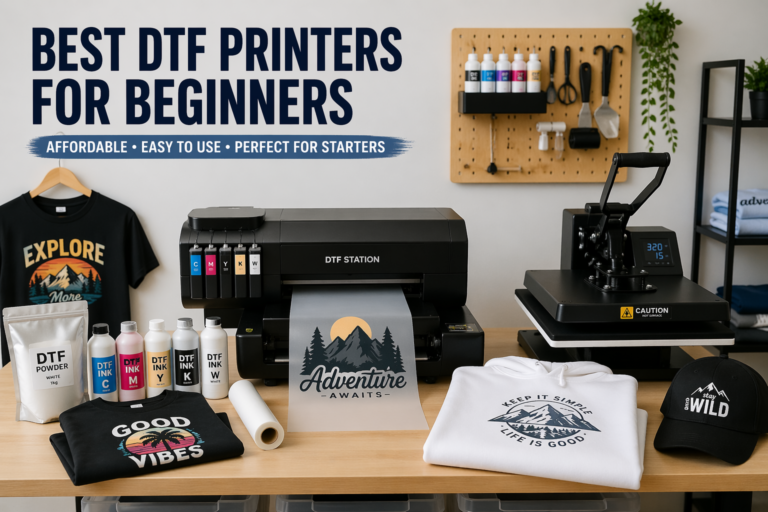
What You Need to Make DTF Transfers at Home
Making DTF transfers at home does not require a full print shop, but it does require specific tools designed for Direct to Film printing.
At a minimum, you need a DTF capable printer, PET transfer film, DTF inks, adhesive powder, a curing method, and a heat press. Each of these components plays a critical role in producing usable transfers.
Home setups typically rely on compact or converted desktop printers paired with manual powder application and curing. While this approach is slower than commercial systems, it is more than sufficient for small batch production.
Choosing the Right Printer for Home Use
For home DTF production, space and ventilation matter as much as print quality. Most home users choose compact printers that can handle DTF inks and film without extensive modification.
Print size is another factor. Smaller printers limit design dimensions but reduce cost and complexity. For most home applications, standard apparel graphics fit comfortably within smaller formats.
Consistency is more important than speed in a home environment. A reliable printer that produces repeatable results is more valuable than high output capacity.
Preparing the Design for DTF Printing
DTF designs are printed in reverse onto PET film. Before printing, artwork should be prepared with the correct resolution and color settings for DTF inks.
White ink handling is especially important. Most DTF workflows rely on an automated white layer behind the color design. Ensuring proper white coverage improves opacity and final print quality, particularly on dark garments.
Design simplicity often leads to better results at home. Highly detailed designs are possible, but beginners usually achieve better consistency with clean shapes and balanced color coverage.
Applying Adhesive Powder at Home
After printing, adhesive powder is applied while the ink is still wet. In a home setup, this is typically done manually by shaking or sprinkling powder over the printed film.
Even coverage is critical. Excess powder can lead to rough textures, while insufficient powder may cause adhesion failures. Most home users develop a feel for this step through repetition rather than automation.
Once powdered, the film must be cured. This can be done using a curing oven, a heat press hover method, or other controlled heat sources suitable for indoor use.
Curing the Transfer Film
Curing activates the adhesive powder without transferring the design to fabric. The goal is to melt the powder just enough to bond with the ink layer.
At home, curing times may vary depending on equipment and ambient conditions. Visual cues are often more reliable than strict time measurements. The surface should appear smooth and slightly glossy when properly cured.
Over curing can damage the transfer, while under curing reduces durability. Careful observation is key during this stage.
Pressing DTF Transfers onto Garments
Once cured, DTF transfers are ready to be applied to fabric. The film is placed onto the garment and pressed using a heat press at the recommended temperature and pressure.
Home presses work well for DTF as long as pressure is consistent across the design. After pressing, the film is peeled according to the film type, either hot or cold.
A final press using a protective sheet helps lock in the design and improve wash durability.
Common Challenges in Home DTF Printing
Home DTF production comes with limitations. Space constraints, ventilation concerns, and manual processes increase the margin for error.
Ink settling, inconsistent powder coverage, and uneven heat are common beginner issues. These problems typically improve with experience and workflow adjustments.
Understanding these limitations helps set realistic expectations. Home DTF is ideal for small runs, prototyping, and custom projects rather than high volume production.
Is Making DTF Transfers at Home Worth It?
For many creators, making DTF transfers at home is a practical way to control production and reduce outsourcing costs. It allows experimentation, rapid iteration, and full creative control.
However, scaling beyond small batches often requires upgraded equipment or outsourcing. Home DTF works best as a starting point or supplemental production method rather than a full replacement for commercial printing.
Final Thoughts
Learning how to make DTF transfers at home gives creators direct access to one of the most flexible printing methods available today. With the right setup and realistic expectations, home DTF production can deliver professional looking results on a small scale.
As DTF technology continues to evolve, home based workflows are becoming more accessible, making Direct to Film printing a viable option for creators who want hands on control over their apparel production.